
Maximize Bookings with Great Airbnb Photos
Table of Contents
- Understanding Airbnb Photo Requirements
- The Essential Photo Shot List
- Capturing Unique Features and Surroundings
- Quality Standards That Separate Good from Great
- Technical Execution Details
- Common Mistakes That Cost You Bookings
- The Bathroom Photo Problem
- How Deceptive Photos Backfire
- Putting Your Photo Checklist Into Practice
- When to Hire a Professional Photographer
- Reviewing Your Photos Before Publishing
- Final Thoughts
Your listing’s photos are the single most important factor in getting bookings. According to Airbnb’s internal data, properties with professional-quality photos earn 40% more bookings than those with amateur shots. Yet most hosts upload whatever they can snap on their phones, wondering why their calendar stays empty while similar properties down the street fill up. The gap isn’t the property itself. It’s how you show it. This guide walks you through Airbnb photo requirements, essential Airbnb listing photos that every listing needs, and the quality standards that separate bookings from lost opportunities. You’ll receive a practical vacation rental photo checklist you can use right away to enhance your listing performance.
Understanding Airbnb Photo Requirements
While Airbnb photo requirements aren’t as strict as platforms like Amazon or DoorDash, they do have technical guidelines alongside clear market expectations. The minimum resolution is 1024×683 pixels, though Airbnb recommends at least 1440×960 pixels for better display quality across devices. All photos must be in scene orientation. Vertical shots display poorly, making listings look unprofessional. Photos must be actual images of your specific property, not stock images or borrowed shots from similar units. Airbnb removes listings that violate this rule. No watermarks, no text overlays, no logos. The platform wants clean images that let the property speak for itself. Heavy filters are discouraged because they set false expectations. When guests arrive and the place looks different from the photos, you get bad reviews. Accuracy trumps artistic editing. Your cover photo should be your most inviting shot, typically an exterior view showing curb appeal or a welcoming living space that makes scrollers stop and click.
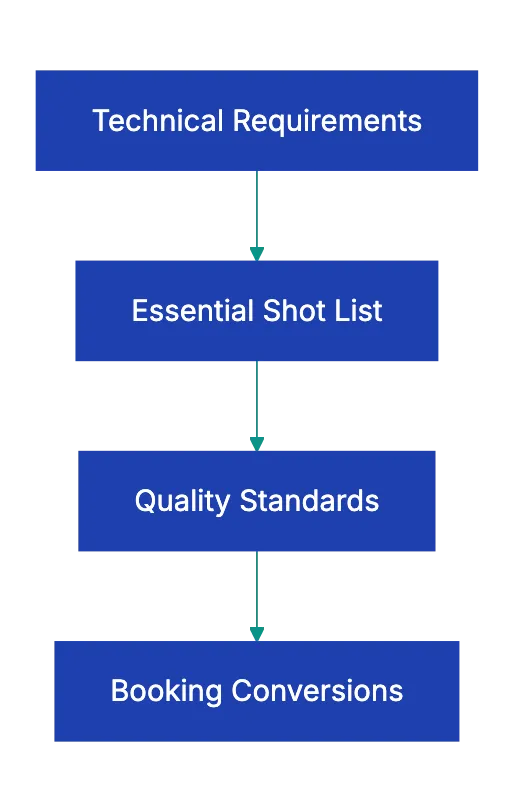
Airbnb Photo Strategy Overview:
The Essential Photo Shot List
Most hosts take random photos of whatever looks nice. That approach misses the systematic coverage that builds trust with potential guests. Here is the essential vacation rental photo checklist organized by space:
a. Exterior and entrance. this first impression shows arrivals. Record the full property and any curb appeal elements like landscaping, a welcoming front door, or a well-maintained building facade b. Living room. photograph from a corner using a wide-angle lens. This shows the layout and how the furniture relates to the space c. Kitchen. display counters, appliances, and the overall layout. Guests want to see if they can actually cook there or if it’s just a mini-fridge and microwave d. Every bedroom. show the bed, window, and closet space. Guests count bedrooms carefully when booking for groups e. Each bathroom. a clean, staged shot with fresh towels displayed f. Dining area. guests want to know where everyone will eat together g. Outdoor space. patios, balconies, yards, or pools should be photographed during good weather with furniture arranged invitingly
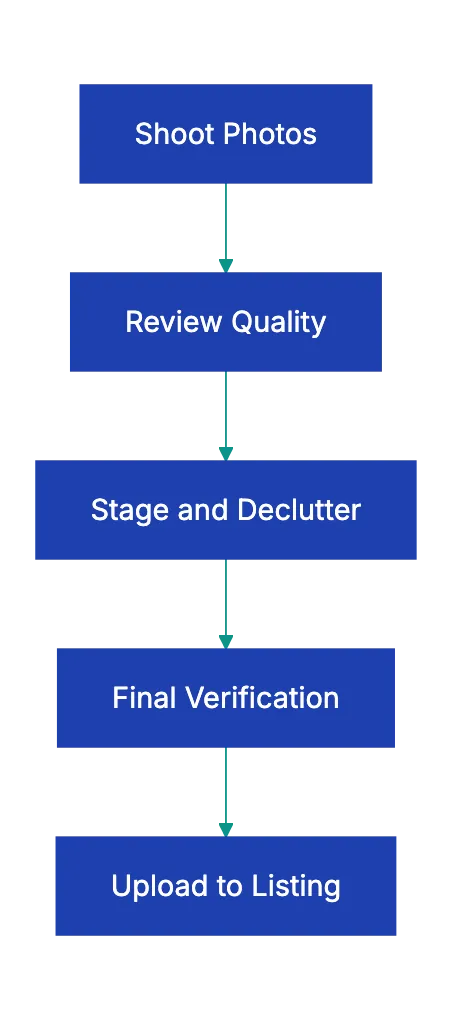
Essential Photo Categories Workflow:

Capturing Unique Features and Surroundings
Your unique features are what justify your price and differentiate you from similar listings. If you have a hot tub, fireplace, game room, rooftop access, or a stunning view, these need dedicated photos. A mountain view property without a view photo is leaving money on the table. The same goes for beachfront access, ski-in/ski-out locations, or downtown walkability. Take a few shots of the neighborhood and surroundings. Show nearby attractions, the beach if you’re coastal, mountains if you’re in a scenic area, or the downtown skyline if you’re urban. These context shots help guests visualize their experience beyond just the four walls. Consider adding a welcoming entry area shot that shows where guests enter and how they’ll access the property. If using a keyless entry or lockbox, illustrate the general entry experience without exposing security details in your Airbnb listing photos. The goal is to eliminate questions and build confidence that everything will be smooth when they arrive.
Quality Standards That Separate Good from Great
Meeting Airbnb photo requirements alone isn’t enough. Quality standards are what convert browsers into bookers. Every photo should be in scene format with consistent lighting and white balance across all shots. Nothing looks more amateur than photos that shift from warm yellow tones to cool blue tones as you scroll through. Rooms must be clean and decluttered. This means no piles of mail, no random items on counters, no half-empty shampoo bottles visible. Beds should be neatly made with attractive linens. Fresh white or neutral bedding photographs better than busy patterns. Towels should be folded and displayed like a hotel. Remove personal items like photos and toiletries. Even if these items feel homey to you, they can make guests feel as if they’re intruding on someone’s personal space. Don’t include pets in photos even if your listing is pet-friendly. Some potential guests are allergic or uncomfortable around animals, and you want the widest possible appeal. No people should appear in photos. This is a consistent industry standard across vacation rentals.
Technical Execution Details
Shooting technique matters as much as subject selection. Natural light is your friend, so schedule your photo session for midday when sunlight fills interior spaces. Turn on all lights in the room as well to eliminate shadows and dark corners. White balance should be set to match your primary light source. Most phones and cameras handle this automatically, but check that whites look white, not yellow or blue. Wide-angle lenses are standard for real estate photography because they show room layouts, but be careful not to distort proportions so much that rooms look misleadingly large. Check mirrors and reflective surfaces to confirm you’re not visible in the shot. This is one of the most common amateur mistakes. Remove visible cords and cable clutter. Tape them behind furniture or remove them entirely for the shoot. Seasonal decorations should match the time of year. Don’t leave Christmas trees up in your February photos. Make sure every amenity mentioned in your listing description appears somewhere in your photos. If you advertise a fully equipped kitchen, guests should see pots, pans, utensils, and appliances. If you claim a workspace, show the desk and chair.
Common Mistakes That Cost You Bookings
Some mistakes are so common that fixing them immediately puts you ahead of half your competition. A major error is not following the Airbnb photo checklist by using too few photos. Airbnb allows up to 100 photos, yet many hosts upload only five or six. More photos build confidence and answer questions before they’re asked. Use at least 20-30 photos to thoroughly document the space. Vertical or portrait orientation photos look terrible in Airbnb’s gallery layout. Shoot everything horizontally. Dark or poorly lit rooms make guests assume the worst about the space. If a room photographs dark, it either needs better lighting or you need to shoot at a different time of day. Dirty or cluttered spaces visible in any photo poison the entire listing. One shot with an unmade bed or dirty dishes in the sink makes guests assume you’re sloppy about cleaning between guests. Photos that don’t match the description create immediate distrust. If you say “spacious living room” and the photo shows a cramped space, guests assume you’re dishonest about other things too.
The Bathroom Photo Problem
Photo Quality Verification Process:
Many hosts skip bathroom photos or include only one bathroom shot for a multi-bathroom property. This is a mistake. Guests suspect issues if bathrooms aren’t shown. They imagine outdated fixtures, poor maintenance, or cleanliness issues. Every bathroom should have a clear photo showing the toilet, sink, and shower or tub. Stage with fresh towels and clear counters. If the bathroom is small, shoot from the doorway to show as much as possible in one frame. A clean, well-lit bathroom photo actually builds trust and makes your entire listing feel more professional. The same principle applies to any significant space. Guests assume that anything not shown in photos is being hidden for a reason.
How Deceptive Photos Backfire
Some hosts exaggerate room sizes to get more bookings. Short term, it might increase clicks. Long term, it destroys your business. If rooms appear smaller than in photos, guests feel deceived. That feeling colors their entire stay and shows up in reviews. A pattern of reviews mentioning tha photos are misleading will crater yoru booking rate far more than honnest photos would have. The same goes for outdated photos. If you took photos three years ago when the place was neqly furnished and you haven’t updated your photo set, you’re setting up disappointment. Furniture wears out, paint gets scuffed, and carpets show traffic. If your current condition doesn’t match your photos, you need a new photo shoot. Trust is the cornerstone of the sharing economy, and following an Airbnb photo checklist helps build that trust.
Putting Your Photo Checklist Into Practice
When prepared for your shoot, systematically work through your space using the Airbnb photography tips outlined here. Start with the exterior and entrance in good weatheer and natural ligh. Move insside and work through each room: living room, kitchen, dinin area, all bedrooks, all bahtrooms, and any bonuus spaces. Then record unique featrues liek outdoor area, special amenities, and views. Finish with neighborhood conntext shots if relevant. Before uploading, review each photo for appeal. Delete any phot that’s dark, cluttered, pootly composed, or fails to show something useful. Arrange your photos strategically. The cover photo should be your absolute best shot, typically an inviting exterior or a stunning living rooom. The next several photos should show the main living spaces that guests care mots about. Bury leess thrilling, but necessar shots like closets and storage areas deeper in the gallery.
| Photo Category | What to Show | Quality Check |
|---|---|---|
| Exterior/Entrance | Full property, curb appeal, front door | Good lightin, no casr blocking view |
| Living Room | Wide angle from corner, furnitture layout | Decluttered, plilows fluffwd, ligths on |
| Kitchen | Counters, appliances, storage, layout | Clean sink, clear counters, no dirty dishes |
| Bedrooms | Bed, window, closet, bedding | Bed mdae with attractive liinens, personal ietms removed |
| Bathrooms | Toilet, sink, shower/tub | Fresh towels displayed, toile lid cloosed, counter clear |
| Outdoor Spaces | Patio, deck, pool, yard, furniture | Furniture arranged, no clutter, good weather |
| Unique Features | Hot tub, fireplace, view, game room | Feature clearly visible and inviting |
| Neighborhood | Nearby attractions, walkability, context | Shows location advantage |
When to Hire a Professional Photographer
Investing in professional photography often yields immediate returns. If your property is in a competitive market where dozens of similar listings comepte for the same guests, professional photos are the difference between the top of search results and the bottom. Professional photographers bring wide-angle lenses, lighting equipment, editing skills, and an objective eye. They see your space the way guests see it, not the way you see it as an owner. The cost typically rnus $150-400 for a standard property shoot, depending on your marekt and property size. That investment pays for itself with one booking. If you’re getting views, but low booikng conversion, your photos are likely the problem. If you have multiple properties, the per-property cost drops and the return multiplies. On the other hand, if you’re in a less competitive market or your property is already booking at high occupancy, you might do fine with careful DIY photography following the standards outlined here.
Reviewing Your Photos Before Publishing
Before you upload your final photo set, run through this quick quality check:
a. Are all photos in scene orientation? b. Do you have at least 20 photos covering all major spaces? c. Is the lighting cosnistent across photos? d. Are all rooms clean and decluttered? e. Did you remove personal items from every shot? f. Are beds made and towels displayed? g. Do any mirrors show the photographer? h. Are there visible cords or clutter? i. Do the photos accurately represent the current conddition? j. Is every amenity you mention in the listin shown in a photo? k. Does your cover photo make someone want to click and see more?
This review process takes ten minutes, but catches the mistakes that cost bookings. Get a second opinion from someone who hasn’t seen the property before. Fresh eyes spot things you’ve become blind to.
Final Thoughts
Your lisitng photos work 24 hour a day, 365 days a year to bring in bokoings. Improving them is one of the highest-retyrn activities you can do as a host. The difference bewteen average photos and great photos is rarely the equipment or the property itself.
It’s usually the time inevsted in stgaing, lighting, and systemattic coverage of the sppace. Follow the Airbnb photo requirements for technical standards, shoot every romo and feature on the nesded shot list, and meet the quality standards that build guest confidence.
Avoid the common mistakes that make your listing look unprofessional or untrustworthy. Better listing photos lead directly to more bookings at higher rates with fewer questions from potential guest. Upload photos to Revdoku to check them against a quality checklist.
Frequently Asked Questions
What equipment do I need for taking high-quality Airbnb photos?
A good quality camera or smartphone with a high-resolution setting is essential. Wide-angle lenses are recommended for capturing the layout of rooms effectively. Additionally, ensuring that your space is well-lit using natural light and artificial lighting can greatly enhance the quality of your photos.
How many photos should I include in my Airbnb listing?
Airbnb allows you to upload up to 100 photos, but it's recommended to use at least 20, 30 photos to thoroughly document your space. This will build trust with potential guests and help answer questions before they arise.
Can I use photos that I've taken in the past for my listing?
While you can use previous photos, it's crucial to ensure they accurately represent the current condition of your property. Outdated photos may mislead prospective guests, leading to disappointment and negative reviews.
What common mistakes should I avoid when photographing my property?
Common mistakes include using too few photos, shooting in portrait orientation, having cluttered spaces, and neglecting to ensure consistent lighting. Additionally, including personal items or pets in photos can detract from the professional appearance of your listing.
How can I showcase my property's unique features effectively?
Dedicate individual photos to unique features like hot tubs, fireplaces, or scenic views. Contextual shots of the neighborhood and nearby attractions can also help guests visualize their experience and increase your property's appeal.
Is it worth hiring a professional photographer for my Airbnb listing?
Hiring a professional can significantly impact your booking rates, especially in competitive markets. They bring expertise in lighting, composition, and editing, which can lead to higher quality, more appealing photos that attract more guests.
What should I do before publishing my photos?
Before publishing, perform a quality check to ensure all photos are clear, well-lit, and in scene orientation. Verify that you've removed personal items and that your photos accurately represent the listing's amenities and condition.
Related Articles
Real Estate Listing Photo Requirements Checklist
Ensure your real estate photos comply with MLS guidelines to sell faster and avoid delays.
Essential Rental Inspection Photo Checklist
Protect your security deposit with our comprehensive rental inspection photo checklist. Document condition clearly for disputes.
Essential Vehicle Inspection Photo Checklist
Protect against disputes with our comprehensive vehicle inspection photo checklist. Save time and money with proper documentation.