How to publish a static folder on a VPS with Caddy
Table of Contents
A VPS gives you full control over hosting. This tutorial shows the simple version: create a server, install Caddy, copy a static folder to the server, point a domain at it, and let Caddy serve it with HTTPS.
What you need
Start with a static folder:
static-site/
  index.html
  styles.css
  app.js
  Readme.md
  data/report.csv
  docs/brief.pdf
  assets/chart.webp
You also need:
- A VPS from AWS Lightsail, Hetzner, DigitalOcean, or another provider.
- SSH access.
- A domain or subdomain if you want HTTPS on a real hostname.
- Basic comfort with the command line.
1. Create a VPS
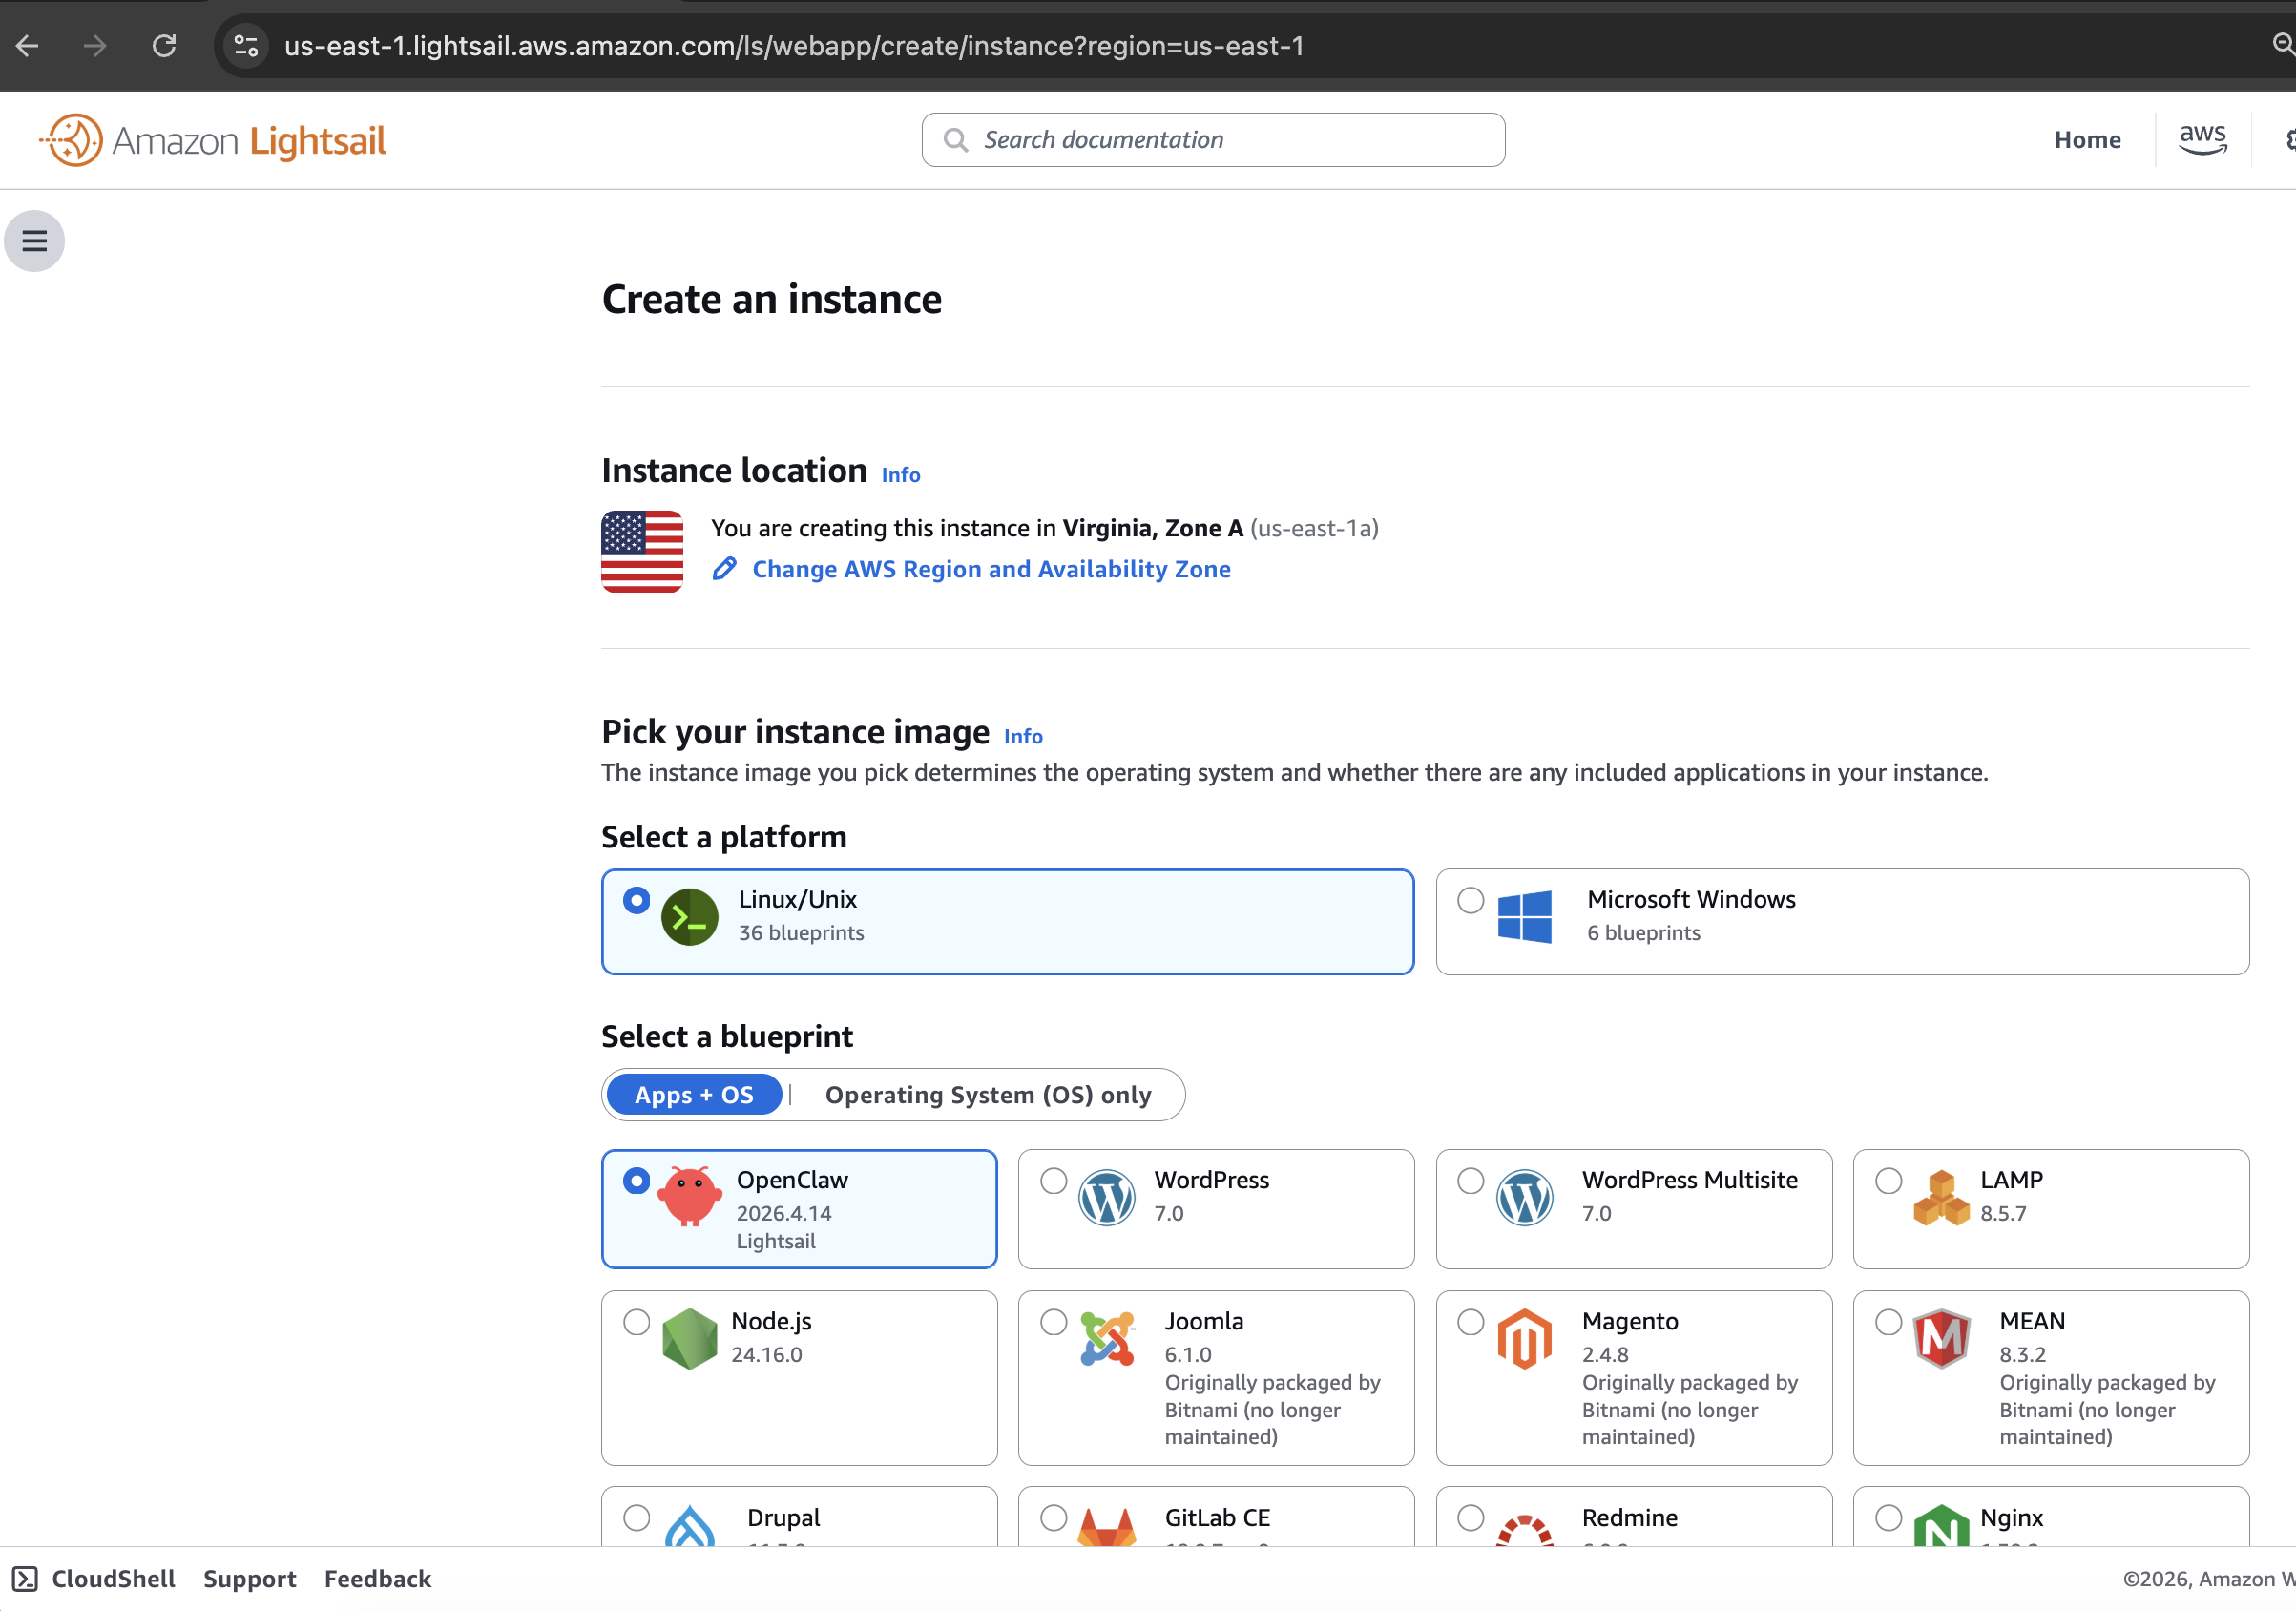
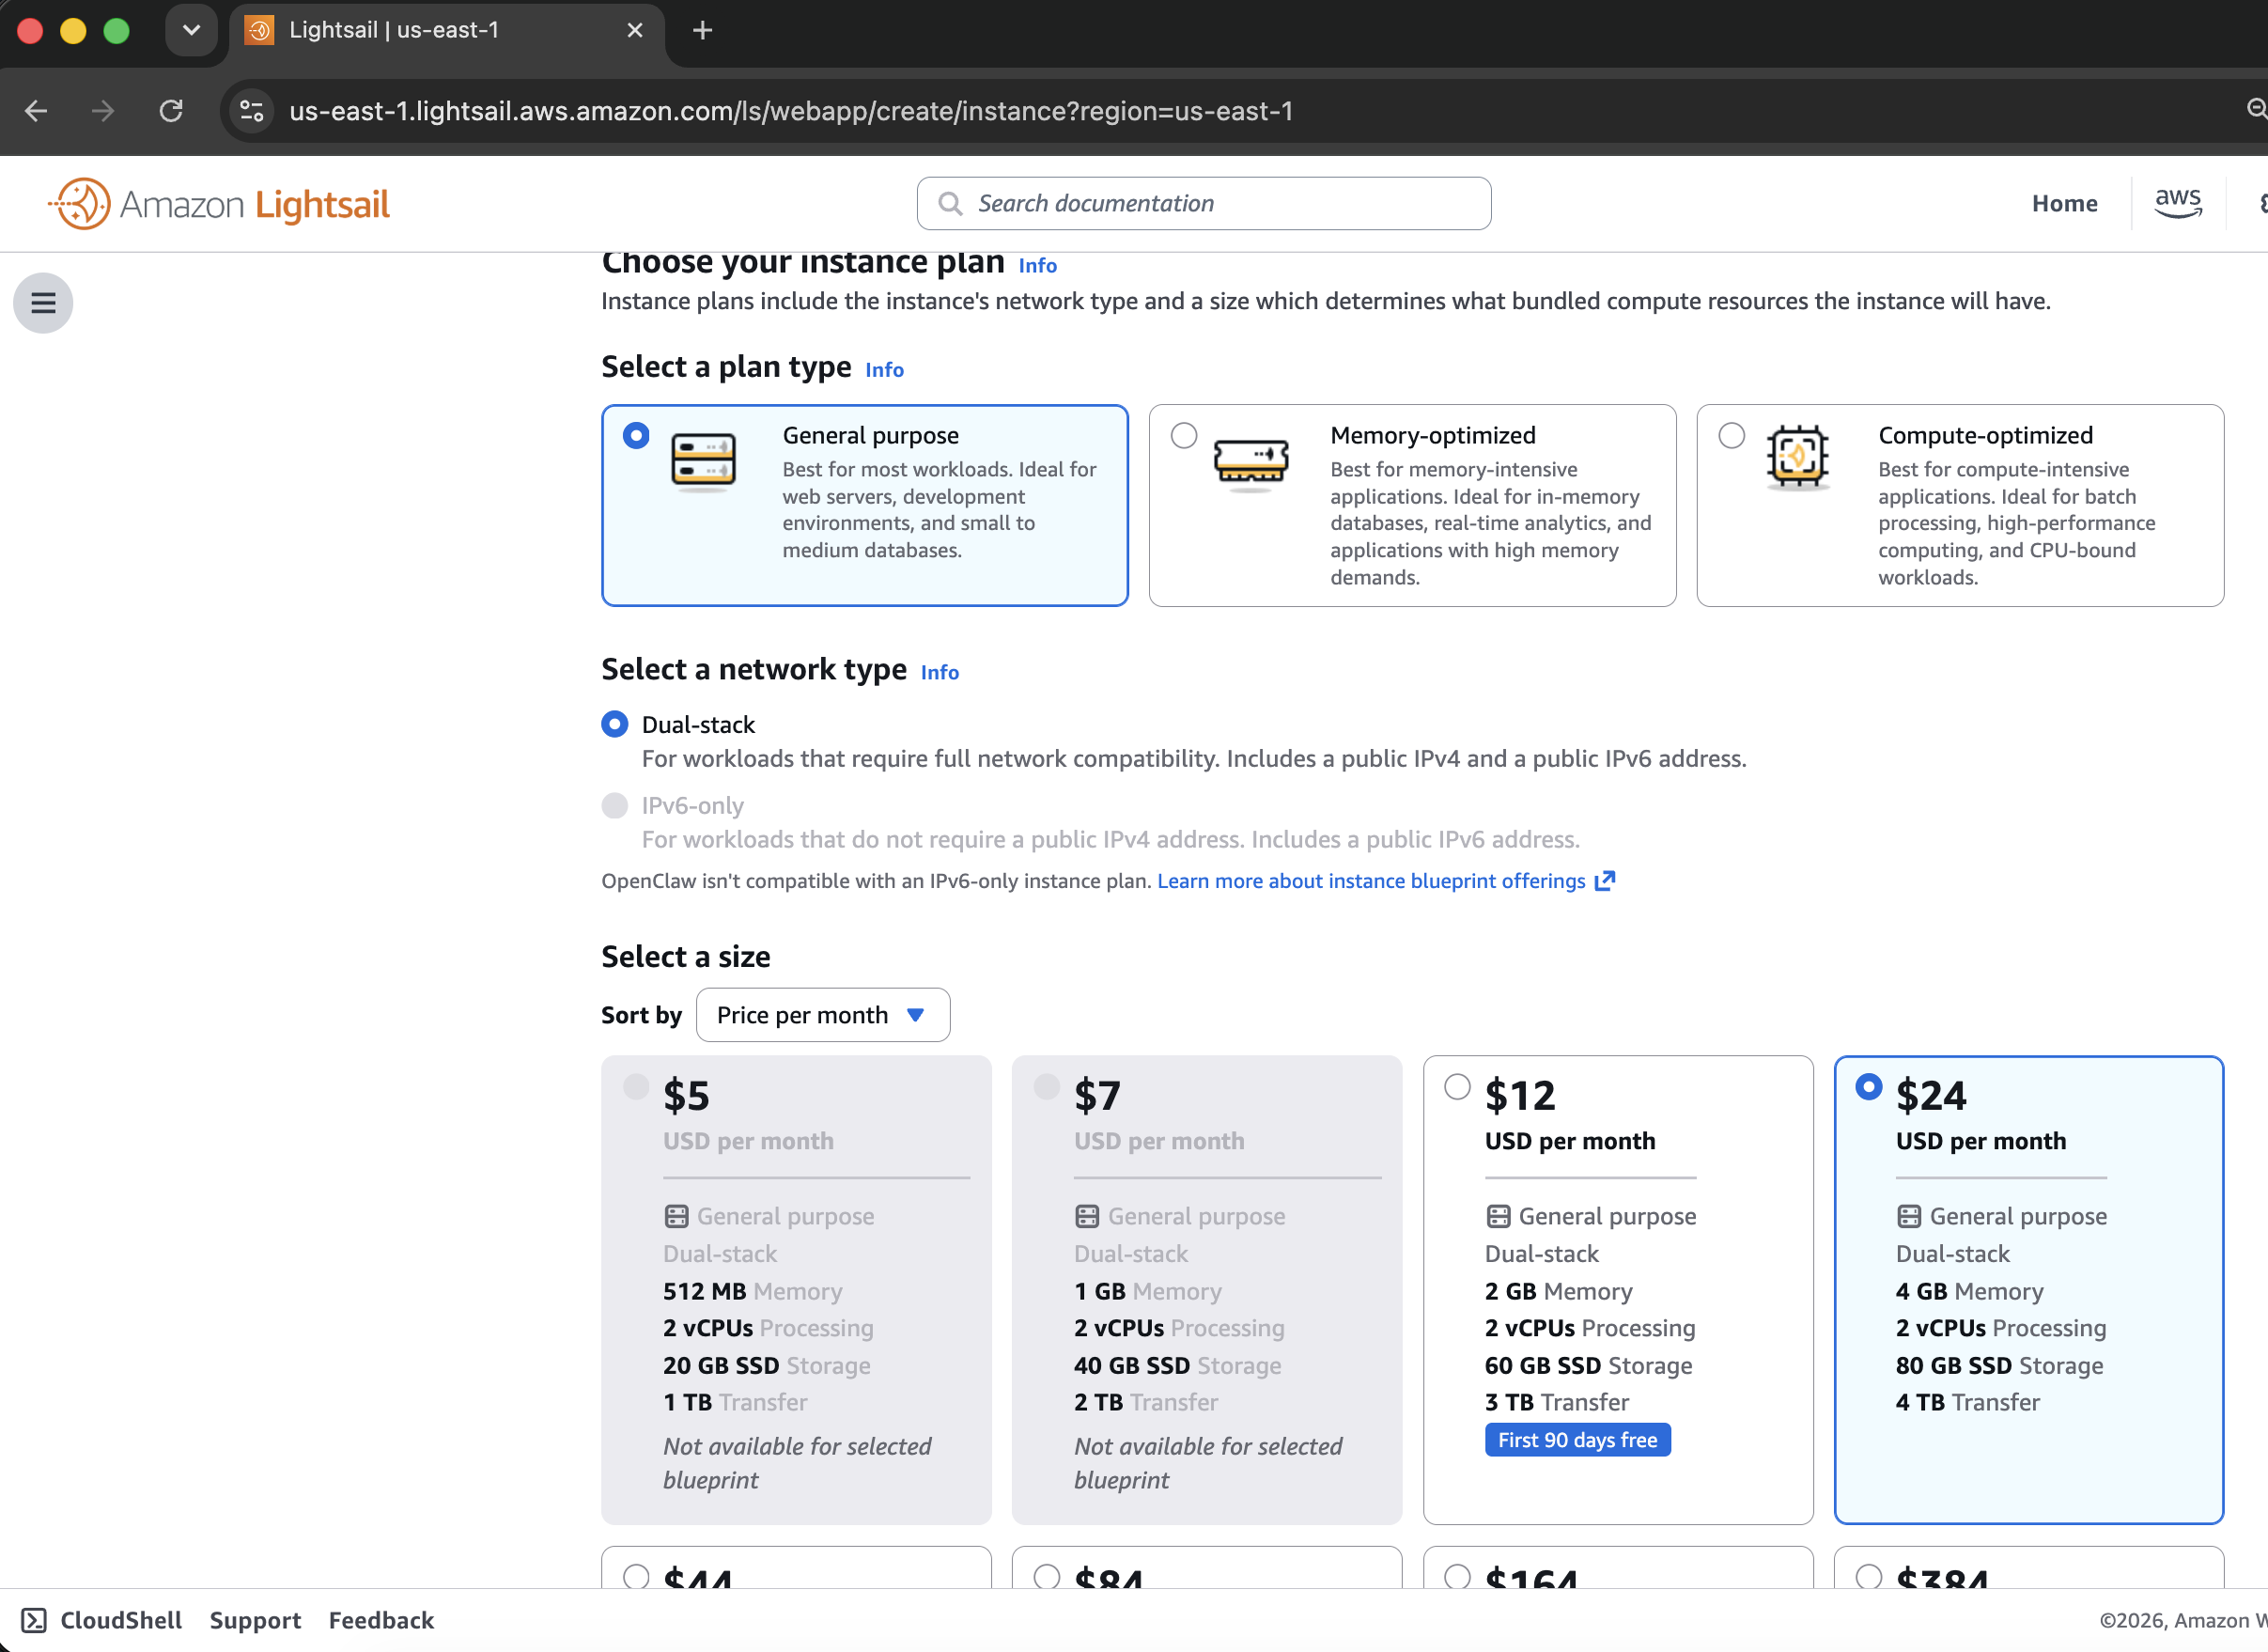
Create a small Linux server with your provider.
Ubuntu LTS is a common choice. Add your SSH key during server creation if the provider supports it.
After the server is created, note:
- Public IP address.
- Username.
- SSH key.
- Provider firewall settings.
Open ports 80 and 443 for HTTP and HTTPS.
2. Point your domain at the server
In your DNS provider’s settings, create an A record:
site.example.com -> YOUR_SERVER_IPWait for DNS to propagate. You can test with:
dig site.example.comIf you do not have a domain, you can test using the server’s IP address, but HTTPS with a trusted certificate is simpler when you have a real hostname.
3. SSH into the server
Connect to the server:
ssh root@YOUR_SERVER_IPThe commands below assume a root session. Some providers use a different default username such as ubuntu. In that case, connect with that username, upload files to your home directory, and use sudo for server configuration and copying files into /var/www/static-site.
4. Install Caddy
Caddy is a good choice for simple static hosting because it can manage HTTPS certificates automatically for real domains.
On Ubuntu, follow the official Caddy installation instructions for your distribution.
After installation, confirm it runs:
caddy version
systemctl status caddy
5. Create the site folder
Create a folder for the site:
mkdir -p /var/www/static-siteCopy your generated files into that folder.
From your local machine, one common approach is:
rsync -av ./static-site/ root@YOUR_SERVER_IP:/var/www/static-site/The trailing slash matters: it copies the contents of static-site into the target folder.
6. Configure Caddy
Edit the Caddyfile:
nano /etc/caddy/CaddyfileUse a simple static configuration:
site.example.com {
  root * /var/www/static-site
  file_server
}
Save the file, then reload Caddy:
caddy validate --config /etc/caddy/Caddyfile
systemctl reload caddy
When DNS is correct and ports are open, Caddy will request and manage the HTTPS certificate automatically.
7. Test the live site
Open:
https://site.example.comCheck:
- The homepage loads.
- Assets load.
- Internal links work.
- Large files download or render as expected.
- No private drafts are accidentally in the folder.
- HTTPS is active.
8. Update the site later
To update the site, copy new files to /var/www/static-site.
For example:
rsync -av ./static-site/ root@YOUR_SERVER_IP:/var/www/static-site/If the Caddy configuration did not change, no reload is usually needed for static files.
9. Add password protection if needed
Caddy can support basic authentication with extra configuration. You will need to generate a hashed password and update the Caddyfile.
Decide how to share passwords, rotate them, remove access, and log visits. Test direct asset URLs as well as the homepage before sharing confidential files.
10. Add analytics if needed
A VPS does not automatically give you product-style website analytics.
You can add analytics by:
- Installing a JavaScript analytics tool.
- Running a self-hosted analytics service.
- Parsing web server logs.
- Sending logs to an external service.
Again, this can be powerful, but it means owning more infrastructure.
When VPS hosting is the right choice
Use a VPS when:
- You need backend code.
- You need a database.
- You need Docker.
- You need custom server software.
- You want root control.
- You are comfortable with DNS, TLS, SSH, security, logs, backups, and updates.
Keep reading
- Publish an AI-generated app on AWS Lightsail for a server-side app deployment.
- Publish a static site on Cloudflare Pages for a managed static hosting workflow.
- Caddy static file quick start for the web server configuration.
Give your AI agent
a free email address
Your AI agent or app gets a unique email address, like [email protected]. It can receive emails and attachments, send replies and store files.